
Artisan Bread Recipe (4 Ingredients) Recipe
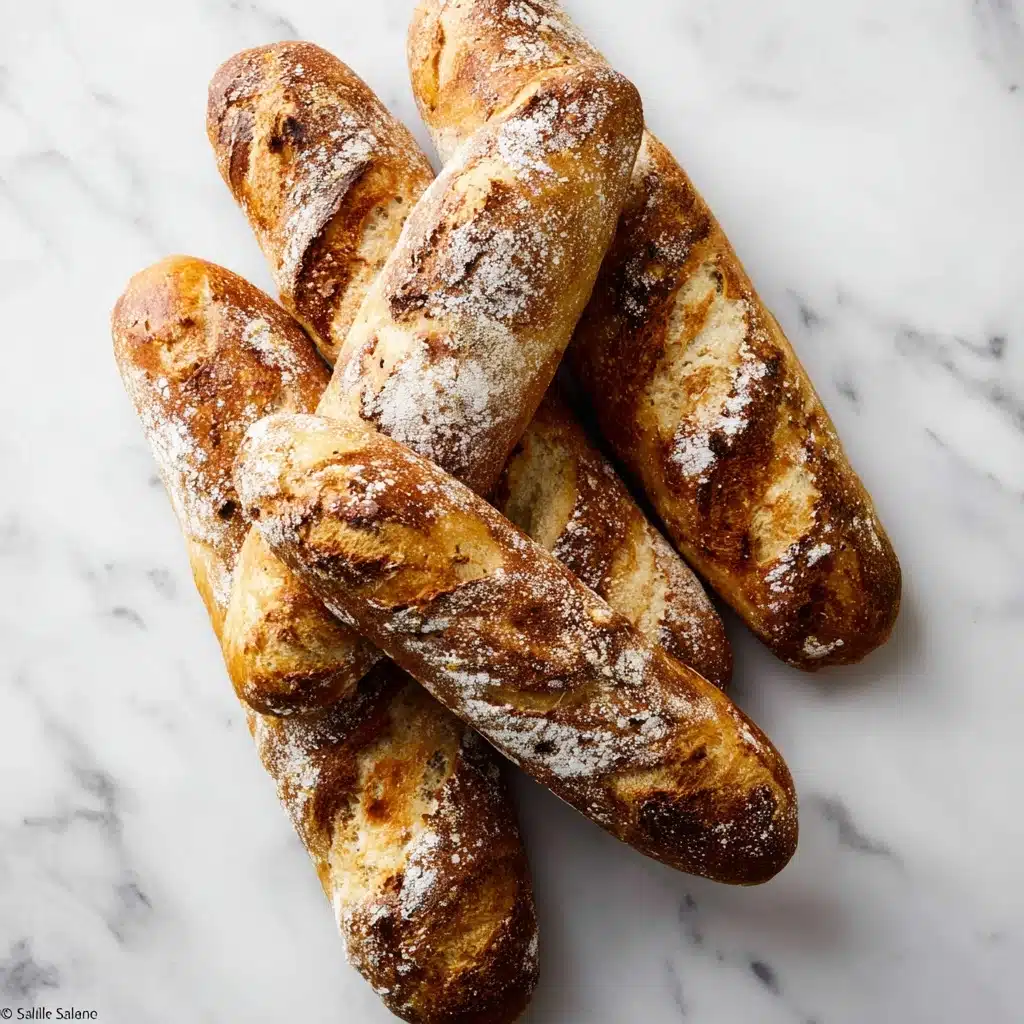
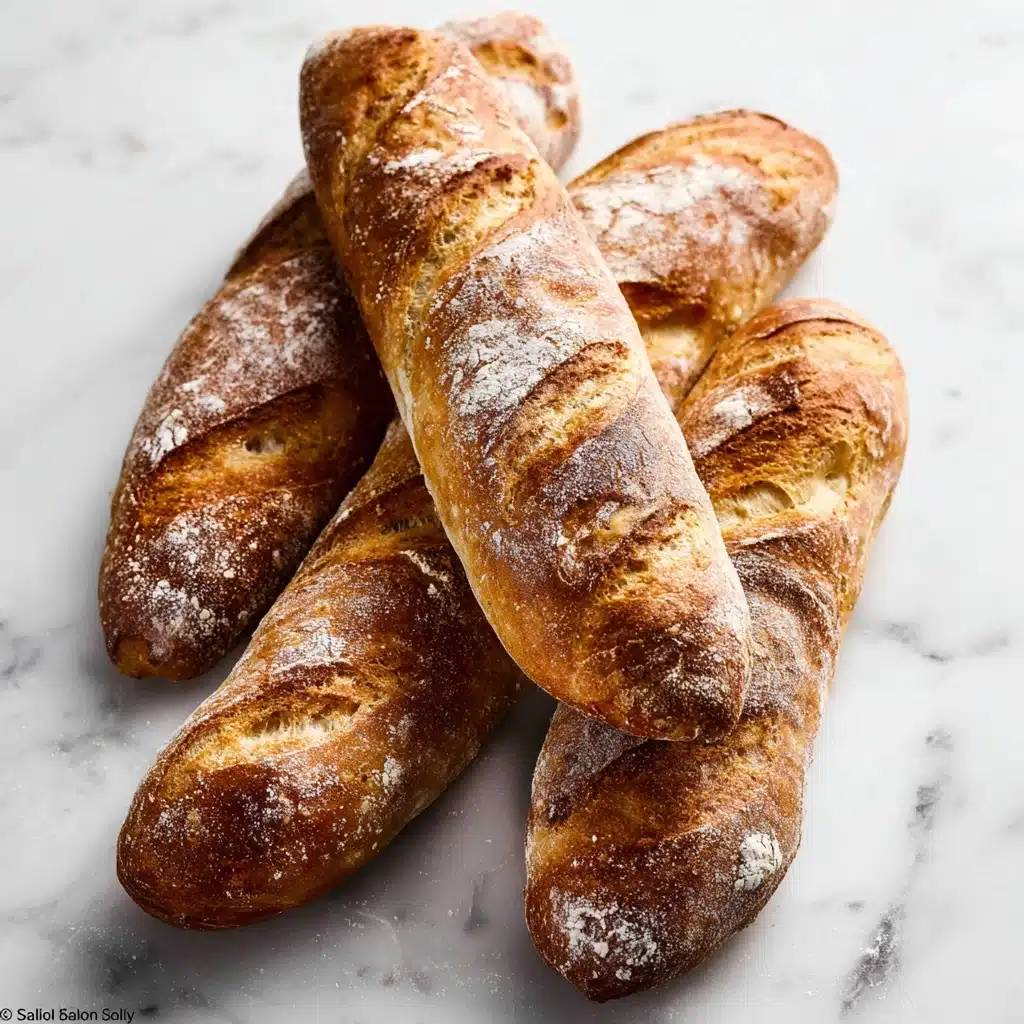
If you’ve ever dreamed of baking your own delicious, crusty bread that looks and tastes like it came straight from a rustic bakery, this Artisan Bread Recipe (4 Ingredients) is your new best friend. With just flour, instant yeast, salt, and water, you’ll create a beautifully golden loaf that boasts a perfect crunchy crust and a tender, airy crumb inside. It’s surprisingly easy to make, requires minimal effort, and fills your kitchen with the most comforting aroma. Whether you’re a beginner or a seasoned baker, this recipe proves that simplicity truly makes the best homemade bread.
Ingredients You’ll Need
Every great loaf starts with simple, quality ingredients that each play a crucial role: the flour forms the structure, yeast helps it rise to fluffy perfection, salt enhances the flavor, and water binds everything together into the perfect dough.
- Bread flour (3 and 1/4 cups or about 430g): Use bread flour to achieve a chewy texture and a strong gluten network for excellent rise.
- Instant yeast (2 teaspoons, about 6g): This type of yeast works quickly and eliminates the need for proofing beforehand, making your loaf rise beautifully.
- Coarse salt (2 teaspoons, about 9g): Adds essential flavor and strengthens the dough’s structure, ensuring a deliciously seasoned bread.
- Water (1 and 1/2 cups, 360ml, about 70°F): Room temperature water activates the yeast gently and combines everything into a sticky, workable dough.
How to Make Artisan Bread Recipe (4 Ingredients)
Step 1: Mix Dry Ingredients
Start by whisking the bread flour, instant yeast, and coarse salt together in a large, ungreased bowl. This ensures an even distribution of yeast and salt, which is key to your bread rising properly and tasting just right.
Step 2: Add Water and Combine
Pour the water into the bowl and gently stir using a wooden spoon or silicone spatula. The dough may seem dry and rough at first, but keep mixing until every bit of flour is moistened. Don’t hesitate to get your hands in there—the dough will be sticky, but that’s exactly what you want.
Step 3: First Rise
Cover the bowl tightly with plastic wrap or foil and leave it on your kitchen counter for 2 to 3 hours. During this time, the dough will nearly double in size, develop air bubbles, and become wonderfully puffy. This slow rise is where the magic truly begins.
Step 4: Refrigerate for Flavor
For best results, place the covered dough in the fridge for anywhere between 12 hours and 3 days. This extended fermentation deepens the flavor and improves texture, resulting in that crave-worthy artisan taste.
Step 5: Shape and Rest
Lightly dust a baking sheet with flour or cornmeal. Turn the cold dough out onto a floured surface, divide it in half, and shape each portion into a long loaf about 9 by 3 inches. Set the loaves about 3 inches apart on the pan, cover loosely, and let them rest for 45 minutes while your oven heats up.
Step 6: Score and Prepare to Bake
Use a sharp knife or bread lame to make three shallow slashes on each loaf. Scoring allows the bread to expand properly during baking. If the loaves flattened during resting, simply pinch the sides back into shape with floured hands.
Step 7: Create Steam for Crust (Optional)
For a crust that’s irresistibly crispy, place a shallow pan on the bottom rack while the oven preheats to 475°F. Right before baking, pour boiling water into the pan and quickly close the oven to trap steam. This little trick mimics the effect of a professional steam-injected oven.
Step 8: Bake Until Golden
Put the baking sheet with your loaves on the center rack and bake for 20 to 25 minutes. Look for a golden-brown crust and tap the loaves lightly; a hollow sound means your bread is perfectly baked.
Step 9: Cool Before Slicing
Remove your artisan loaves from the oven and let them cool for at least 20 minutes. This resting time allows the crumb to set nicely, giving you that perfect slice every time.
How to Serve Artisan Bread Recipe (4 Ingredients)
Garnishes
While this bread is delightful on its own, you can elevate your serving with a drizzle of extra virgin olive oil and a sprinkle of flaky sea salt, fresh herbs like rosemary, or a smear of high-quality butter to complement the crispy crust and soft interior.
Side Dishes
This artisan bread pairs beautifully with rich soups like tomato basil or creamy mushroom, fresh salads, or classic dishes like pasta and stews. Its robust texture holds up well to dips, spreads, and hearty toppings.
Creative Ways to Present
Serve your bread sliced on a rustic wooden board surrounded by small bowls of olive oil, balsamic vinegar, tapenade, or flavored butters. For a crowd, create a bread basket layered with cloth napkins to keep the loaves warm and inviting.
Make Ahead and Storage
Storing Leftovers
Keep any leftover bread loosely covered at room temperature for up to five days. Avoid airtight containers, which can make the crust soggy. If you know you won’t finish it soon, refrigeration is okay for up to a week, though the texture may slightly change.
Freezing
To save your bread for longer, slice it and freeze in an airtight bag for up to three months. Freezing slices individually means you can toast exactly what you need without thawing the whole loaf.
Reheating
Refresh your artisan loaf by heating it in a preheated 350°F oven for about 10 minutes. This brings back a crisp crust and warm, soft interior, as if freshly baked.
FAQs
Why only 4 ingredients in this Artisan Bread Recipe?
This recipe focuses on simplicity and quality, using just flour, yeast, salt, and water to create bread that’s easy to make and genuinely delicious without any unnecessary extras.
Can I use all-purpose flour instead of bread flour?
Yes, all-purpose flour can work, but bread flour provides more gluten, resulting in a chewier, more elastic crumb and better rise.
Is instant yeast the only yeast I can use?
Instant yeast is recommended for its convenience and speed, but you can substitute active dry yeast by proofing it first in warm water.
How important is the refrigeration step?
While you can bake after the initial rise, refrigerating the dough for 12 to 72 hours enhances flavor and texture through slow fermentation, making your bread taste even more artisan.
Can I make one large loaf instead of two smaller ones?
Absolutely! Just adjust baking time accordingly and keep an eye on the bread’s color and internal temperature to ensure it’s fully baked.
Final Thoughts
There’s something truly special about baking your own bread, especially when it’s as straightforward and rewarding as this Artisan Bread Recipe (4 Ingredients). It’s a wonderful project that fills your home with warmth and a sense of accomplishment. I encourage you to try it, trust the process, and enjoy every golden-crusted slice you create.
Print
Artisan Bread Recipe (4 Ingredients) Recipe
- Total Time: 2 hours 35 minutes (plus 12-18 hours optional refrigeration)
- Yield: 2 loaves (about 12 servings) 1x
- Diet: Vegetarian
Description
This Artisan Bread Recipe with just 4 simple ingredients yields crusty, flavorful homemade bread perfect for sandwiches, toast, or serving alongside your favorite dishes. Using minimal ingredients and a no-knead technique, this recipe offers easy preparation and excellent results with a delightfully chewy interior and a crisp, golden crust.
Ingredients
Dry Ingredients
- 3 and 1/4 cups (about 430g) bread flour (spooned & leveled), plus more for hands and pan
- 2 teaspoons (about 6g) instant yeast
- 2 teaspoons (about 9g) coarse salt
Wet Ingredients
- 1 and 1/2 cups (360ml) water, close to room temperature (about 70°F / 21°C)
Optional
- Cornmeal for dusting pan
Instructions
- Mix Ingredients: In a large ungreased mixing bowl, whisk together the bread flour, instant yeast, and coarse salt. Pour in the water and gently mix using a silicone spatula or wooden spoon until all flour is moistened. The dough will be sticky and shaggy. Use your hands if necessary to combine into a rough ball in the bowl.
- First Rise: Cover the bowl tightly with plastic wrap or aluminum foil and let the dough rise at room temperature for 2-3 hours. The dough will double in size, stick to the sides of the bowl, and show many air bubbles.
- Optional Refrigerated Rest: For enhanced flavor and texture, refrigerate the covered dough for 12 hours up to 3 days. This long, slow rise causes the dough to puff and develop better taste. It may deflate slightly after 2 days, which is normal.
- Shape Dough: Lightly dust a large nonstick baking sheet with flour and/or cornmeal. Turn the cold dough onto a floured surface, cut it in half with a sharp knife or bench scraper. Shape each half into a roughly 9×3 inch long loaf and place them on the prepared baking sheet about 3 inches apart. Cover loosely and let rest for 45 minutes.
- Preheat Oven: While the dough rests, preheat your oven to 475°F (246°C).
- Score the Loaves: Using a sharp knife or bread lame, make three shallow, 1/2 inch deep slashes on each loaf. If the loaves have flattened during the rest, shape the sides again with floured hands.
- Add Steam (Optional): Place a shallow metal or cast iron pan on the bottom rack of the oven while it preheats. Once ready, pour 3-4 cups of boiling water into the pan just before placing the loaves in the oven, then quickly close the oven door to trap steam. This creates a crispier crust.
- Bake: Place the scored loaves on the center oven rack and bake for 20-25 minutes until golden brown. Tap the bottom of the loaves—they should sound hollow when done. A thermometer inserted inside should read 195°F (90°C).
- Cool and Store: Remove bread from oven and cool on a wire rack for at least 20 minutes before slicing. Store leftovers loosely covered at room temperature for up to 5 days or refrigerate up to 1 week.
Notes
- Using bread flour is important for good gluten development and structure.
- Coarse salt enhances flavor and texture; do not omit.
- The dough will be sticky and shaggy—this is normal and does not require kneading.
- Resting dough in the refrigerator improves flavor through slow fermentation.
- Adding steam during baking helps develop a crisp crust but is optional.
- Use a sharp blade to score the loaves to allow proper oven spring.
- Allow bread to cool fully before slicing to ensure the crumb sets properly.
- Prep Time: 10 minutes
- Cook Time: 25 minutes
- Category: Bread
- Method: No-Knead / Oven Baking
- Cuisine: American
Nutrition
- Serving Size: 1 slice (1/12th of a loaf, approx. 50g)
- Calories: 140
- Sugar: 0.2g
- Sodium: 380mg
- Fat: 0.8g
- Saturated Fat: 0.1g
- Unsaturated Fat: 0.6g
- Trans Fat: 0g
- Carbohydrates: 29g
- Fiber: 1.5g
- Protein: 5g
- Cholesterol: 0mg
Keywords: artisan bread, no-knead bread, simple bread recipe, homemade bread, easy bread, crunchy crust, slow rise dough


