
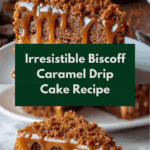
Biscoff Caramel Drip Cake Recipe
Introduction
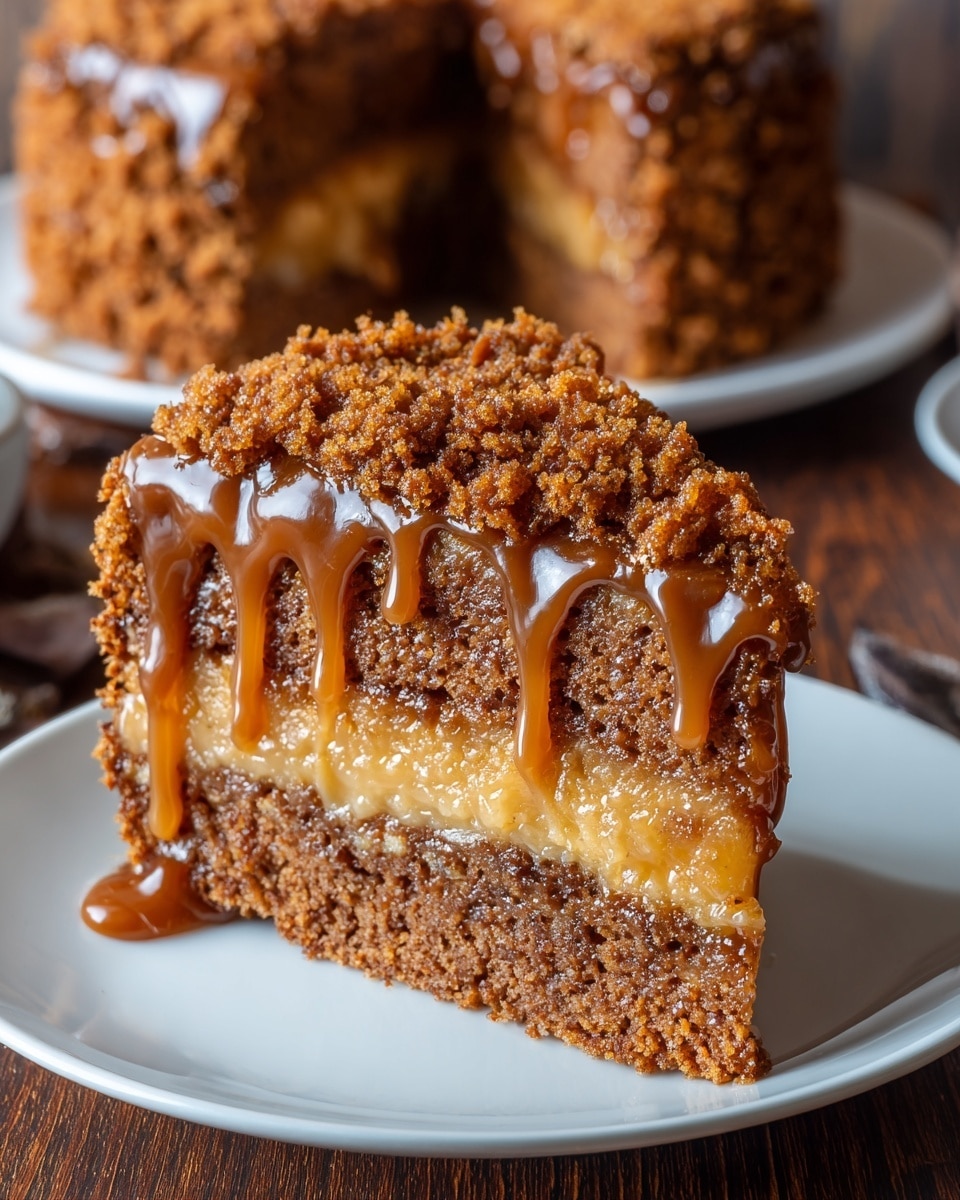
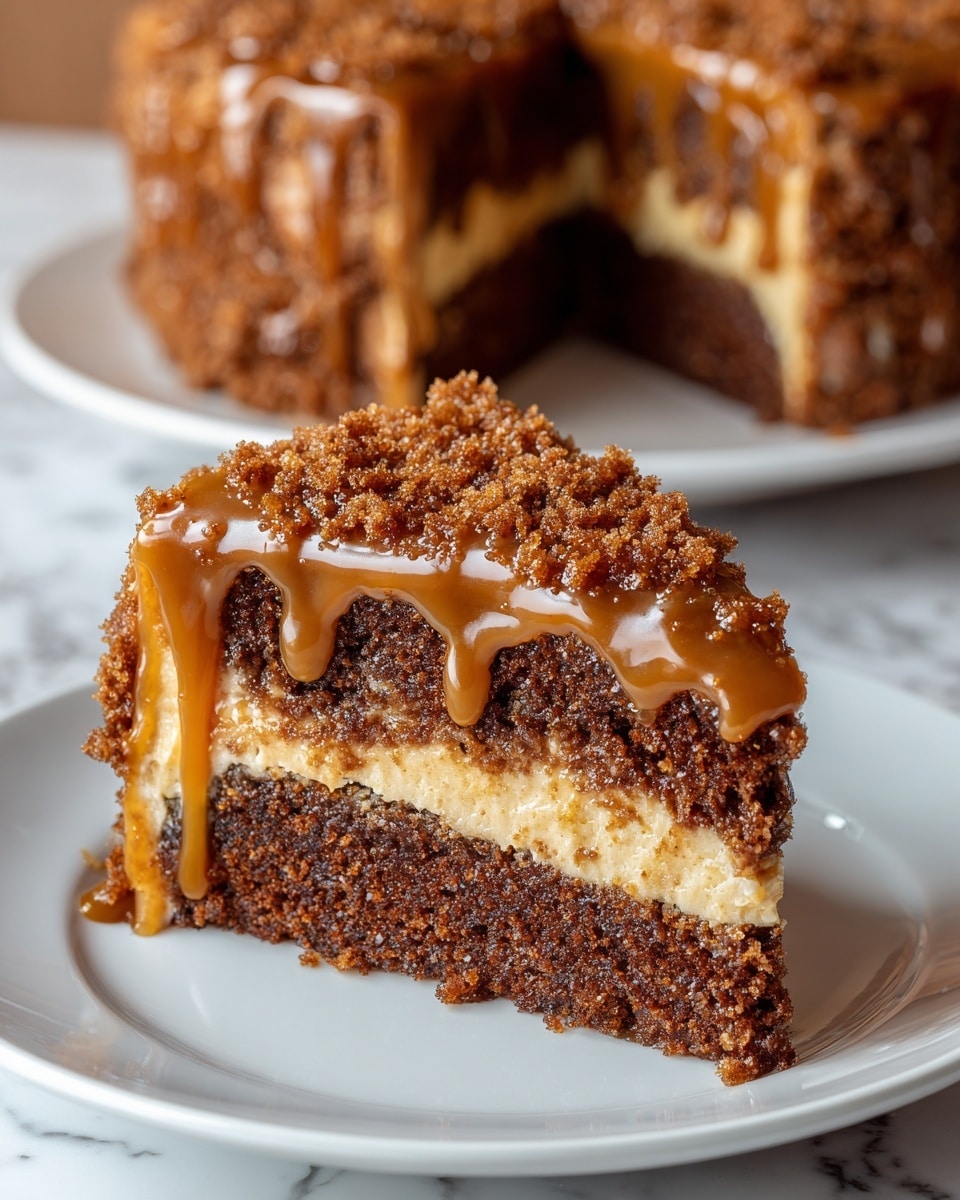
Indulge in the rich and irresistible flavors of a Biscoff Caramel Drip Cake. This treat combines spiced cake layers with smooth Biscoff spread and luscious caramel, topped with crunchy Lotus biscuit crumbs and a stunning caramel drip. Perfect for special occasions or whenever you need a decadent dessert fix.
Ingredients
- 250 g flour
- 1 tsp baking powder
- 1 tsp baking soda
- 1 tsp cinnamon
- 1 pinch salt
- 150 g brown sugar
- 100 g melted butter
- 3 eggs
- 200 ml milk
- 120 g Biscoff spread
- 1 tsp vanilla extract
- 200 g sweetened condensed milk
- 80 g sugar
- 60 g butter
- 100 ml heavy cream
- 1 pinch salt
- 6 crushed Lotus biscuits
- 30 g melted butter
- 1 tbsp brown sugar
- 100 g sugar (for caramel drip)
- 50 g butter (for caramel drip)
- 100 ml warm heavy cream (for caramel drip)
Instructions
- Step 1: Preheat your oven to 180°C (350°F). Grease and flour a baking pan.
- Step 2: In a bowl, combine flour, baking powder, baking soda, cinnamon, and salt.
- Step 3: In another bowl, beat together the brown sugar, eggs, and vanilla extract until smooth.
- Step 4: Add the melted butter, milk, and Biscoff spread to the wet mixture and mix well.
- Step 5: Gradually add the dry ingredients to the wet ingredients and stir until fully combined.
- Step 6: Pour the batter into the prepared pan and bake for 35 to 40 minutes, or until a toothpick comes out clean.
- Step 7: Allow the cake to cool completely before adding toppings.
- Step 8: To make the caramel layer, melt sugar in a saucepan until amber in color. Add butter, then sweetened condensed milk and cream, stirring constantly.
- Step 9: Cook over low heat for 5 minutes until thickened, then let it cool slightly before spreading over the cake.
- Step 10: Mix crushed Lotus biscuits with melted butter and brown sugar, then sprinkle over the warm caramel to create a crunchy layer.
- Step 11: For the caramel drip, melt sugar until golden caramel forms. Stir in butter and warm cream, then cool slightly.
- Step 12: Drizzle the caramel drip over the cake edges for a beautiful finishing touch.
Tips & Variations
- Use full-fat cream for a richer caramel sauce and drip effect.
- Substitute Biscoff spread with peanut butter for a different nutty twist.
- Let the cake cool completely before adding caramel to prevent melting or sliding.
- Add a pinch of sea salt on top of the caramel drip for a salted caramel flavor.
Storage
Store the cake in an airtight container in the refrigerator for up to 3 days. Bring to room temperature before serving for the best texture. Leftover caramel can be reheated gently on the stove or in the microwave, stirring frequently.
How to Serve
Serve this delicious recipe with your favorite sides.
FAQs
Can I use a different type of cookie instead of Lotus biscuits?
Yes, any crunchy, spiced cookie works well for the topping, such as ginger snaps or speculoos cookies.
How do I prevent the caramel drip from running too much?
Allow the caramel drip to cool slightly so it thickens before drizzling. This helps control the drip and keeps it in place on the cake edges.
Print
Biscoff Caramel Drip Cake Recipe
- Total Time: 1 hour
- Yield: 10 servings 1x
Description
This Biscoff Caramel Drip Cake combines the warm spices of cinnamon and vanilla with the unique caramelized flavor of Biscoff spread, topped with a luscious homemade caramel and a crunchy biscuit layer. Perfectly moist and richly indulgent, it’s an irresistible dessert that showcases a beautiful drip effect for a stunning presentation.
Ingredients
Cake Batter
- 250 g all-purpose flour
- 1 tsp baking powder
- 1 tsp baking soda
- 1 tsp ground cinnamon
- 1 pinch salt
- 150 g brown sugar
- 100 g melted butter
- 3 eggs
- 200 ml milk
- 120 g Biscoff spread
- 1 tsp vanilla extract
Caramel Sauce
- 200 g sweetened condensed milk
- 80 g sugar
- 60 g butter
- 100 ml heavy cream
- 1 tsp vanilla extract
- 1 pinch salt
Biscuit Crunch Topping
- 6 crushed Lotus biscuits
- 30 g melted butter
- 1 tbsp brown sugar
Caramel Drip
- 100 g sugar
- 50 g butter
- 100 ml warm heavy cream
Instructions
- Preheat the oven: Set your oven to 180°C (350°F) to prepare for baking the cake.
- Mix dry ingredients: Combine flour, baking powder, baking soda, cinnamon, and salt in a bowl ensuring they are well blended.
- Beat wet ingredients: In another bowl, whisk brown sugar, eggs, and vanilla extract until light and fluffy.
- Add butter, milk, and Biscoff: Pour in the melted butter, milk, and Biscoff spread into the egg mixture and blend thoroughly.
- Combine batter: Gradually add the dry ingredients to the wet mix and stir until the batter is smooth and even.
- Prepare and bake cake: Pour the batter into a greased and floured baking pan, then bake in the preheated oven for 35 to 40 minutes, or until a toothpick inserted in the center comes out clean.
- Cool the cake: Remove from the oven and allow the cake to cool completely before decorating.
- Create caramel sauce base: In a saucepan, melt sugar over medium heat until amber colored, then add butter stirring often.
- Add condensed milk and cream: Pour in sweetened condensed milk and cream, stirring constantly to combine.
- Simmer caramel: Reduce heat to low and cook the mixture for 5 minutes until thickened.
- Cool caramel: Let the caramel sauce cool slightly before spreading it evenly over the cooled cake.
- Make biscuit topping: Mix crushed Lotus biscuits with melted butter and brown sugar to form a crumbly topping.
- Apply biscuit crunch: Sprinkle the biscuit mixture over the still slightly warm caramel to create a crunchy layer on top.
- Prepare caramel drip: Melt sugar in a pan over medium heat until it turns golden caramel color, then add butter stirring to combine.
- Add warm cream: Slowly mix in warmed heavy cream to the caramel, stirring until smooth and glossy.
- Drip caramel on cake: Allow the caramel drip to cool a little, then drizzle it over the cake edges to create a beautiful drip effect.
Notes
- Ensure the cake is completely cooled before applying the caramel and biscuit toppings to prevent melting or slipping.
- Use warm heavy cream when adding to the caramel to avoid seizing.
- Crushing biscuits finely helps create a better textured crunchy topping layer.
- To test cake doneness, insert a toothpick in the center; it should come out clean.
- The caramel drip can be refrigerated slightly to thicken if it seems too runny before applying.
- Prep Time: 20 minutes
- Cook Time: 40 minutes
- Category: Dessert
- Method: Baking
- Cuisine: European
Keywords: Biscoff cake, caramel drip cake, lotus biscuit dessert, caramel cake recipe, baked caramel drip cake

