
Hard Candy Recipe with Vibrant Colors and Flavors Recipe
Introduction
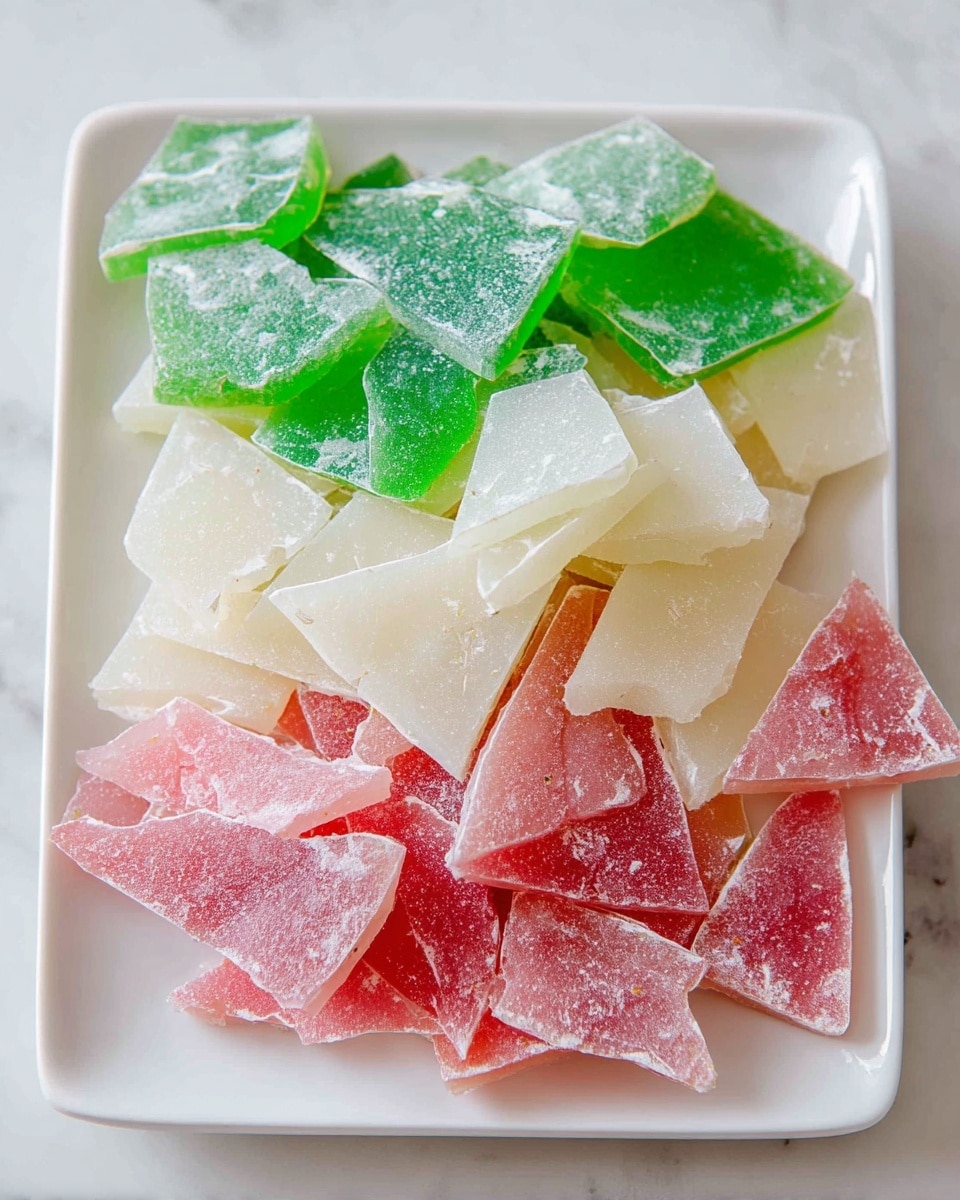
Hard candy is a classic sweet treat that’s both fun to make and delightful to enjoy. With simple ingredients and straightforward steps, you can create colorful, flavorful candies perfect for gifts or snacking.
Ingredients
- 1 cup granulated sugar
- ⅓ cup water
- ⅓ cup clear corn syrup
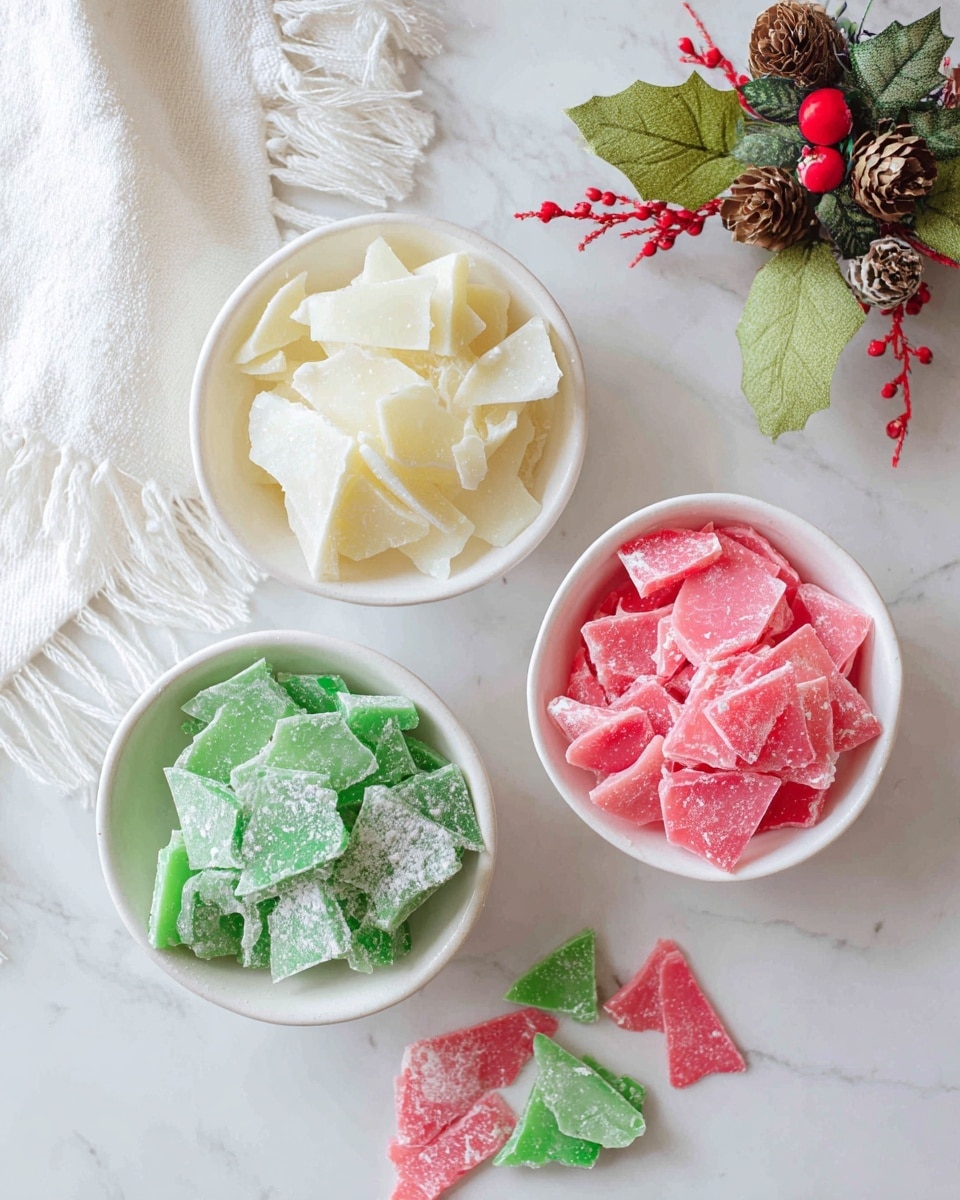
- 42 drops food coloring (liquid works best: 22 drops green, 20 drops red)
- Flavoring: extract (e.g., peppermint, vanilla) or flavor oil (e.g., strawberry, cotton candy)
- Powdered sugar (for coating)
Instructions
- Step 1: Sift powdered sugar over the bottom of a rimmed cookie sheet. You may also use parchment paper or a silicone mat, but don’t skip the powdered sugar base as it prevents sticking and adds a nice finish. Set aside.
- Step 2: In a medium saucepan, combine the granulated sugar, water, and corn syrup. Gently stir until all sugar is dissolved and none sticks to the bottom.
- Step 3: Place the saucepan over medium heat and bring the mixture to a boil.
- Step 4: Allow the mixture to boil without stirring until it reaches 300°F (hard crack stage).
- Step 5: Remove the saucepan from the heat once 300°F is reached.
- Step 6: Wait 30 seconds, then add your chosen food coloring and flavoring: ½ to ¾ teaspoon of extract or ¼ teaspoon of flavor oil. Use liquid food coloring for easier blending.
- Step 7: Stir well until the mixture is evenly colored.
- Step 8: Quickly pour the mixture into the prepared cookie sheet and use an offset spatula to spread it evenly before it starts to set.
- Step 9: Sift a light layer of powdered sugar evenly over the top of the candy.
- Step 10: Let the candy set for at least 30 minutes, or until fully hardened.
- Step 11: Use a pastry brush to remove excess powdered sugar from the hardened candy surface.
- Step 12: Break the candy into bite-sized pieces using a mallet.
- Step 13: Store the pieces in an airtight container to keep them fresh.
Tips & Variations
- Use clear corn syrup to keep the candy transparent and smooth.
- Liquid food coloring blends easier than gel, providing more even color.
- For a festive look, try layering different colored mixtures in the pan.
- Experiment with flavor oils to create unique candy tastes beyond extracts.
- Be sure to use a candy thermometer for precise temperature control.
Storage
Store your hard candy in an airtight container at room temperature to prevent moisture absorption. Properly stored, the candy will last several weeks. Avoid refrigerating, as humidity can cause the candy to become sticky. If the candy softens, let it air dry before handling.
How to Serve
Serve this delicious recipe with your favorite sides.
FAQs
Why is a candy thermometer important?
A candy thermometer ensures the sugar mixture reaches the correct temperature (300°F) for hard candy. This guarantees the final texture is firm and crunchy rather than soft or sticky.
Can I use gel food coloring instead of liquid?
You can, but gel food coloring may not blend as evenly as liquid and can cause streaks in the candy. Liquid coloring is recommended for the best smooth, uniform appearance.
Print
Hard Candy Recipe with Vibrant Colors and Flavors Recipe
- Total Time: 45 minutes
- Yield: Approximately 20–30 bite-sized pieces 1x
- Diet: Vegetarian
Description
This classic Hard Candy Recipe creates beautifully clear, colorful, and flavorful hard candies at home. Using simple ingredients like sugar, water, and corn syrup, combined with your choice of extracts or flavor oils and liquid food coloring, you can craft sweet treats with a smooth, glossy finish. The recipe includes key steps to achieve the perfect hard crack stage, ensuring candies that are crisp and delightful. Powdered sugar prevents sticking and adds a delicate finish, while breaking the candy into bite-sized pieces makes them easy to enjoy or gift.
Ingredients
Main Ingredients
- 1 cup granulated sugar
- ⅓ cup water
- ⅓ cup clear corn syrup
Coloring and Flavor
- 42 drops food coloring (liquid works best; green 22 drops, red 20 drops)
- Flavoring: ½ to ¾ teaspoon extract (peppermint, vanilla, etc.) or ¼ teaspoon flavor oil (strawberry, cotton candy, etc.)
For Coating
- Powdered sugar (for coating)
Instructions
- Prepare Base: Sift powdered sugar generously over the bottom of a rimmed cookie sheet, parchment paper, or silicone mat to create a non-stick base and ensure a beautiful finish. Set aside.
- Combine Ingredients: In a medium saucepan, add granulated sugar, water, and corn syrup. Gently stir just until all sugar dissolves and no granules are stuck to the bottom of the pan.
- Heat Mixture: Place saucepan over medium heat and bring the mixture to a boil without stirring further.
- Reach Hard Crack Stage: Allow the syrup to boil until the temperature reaches 300°F (149°C), the hard crack stage, which ensures the candy will harden properly. Avoid mixing during this phase to prevent crystallization.
- Remove from Heat: Once 300°F is reached, take the saucepan off the heat immediately to prevent burning.
- Add Color and Flavor: Wait 30 seconds, then carefully add your chosen liquid food coloring (about 42 drops total) and flavoring—use ½ to ¾ teaspoon of extract or ¼ teaspoon of flavor oil. Mix thoroughly until the color and flavor are evenly distributed.
- Pour and Spread: Quickly pour the hot syrup mixture onto the prepared cookie sheet and use an offset spatula to spread it evenly before the candy begins to set.
- Apply Powdered Sugar Topcoat: Sift more powdered sugar evenly over the top of the candy to keep it from sticking and add a soft finish.
- Allow to Harden: Let the candy set undisturbed at room temperature for at least 30 minutes or until completely hardened.
- Brush Off Excess Sugar: Use a pastry brush to remove any excess powdered sugar from the candy surface carefully.
- Break Into Pieces: Using a mallet or sturdy tool, break the hardened candy into bite-sized pieces for easy serving and storage.
- Store Properly: Keep the candy pieces in an airtight container to maintain freshness and prevent moisture absorption.
Notes
- Do not stir the sugar syrup once it starts boiling to avoid crystallization.
- Use liquid food coloring as it blends more easily than gel or powdered types.
- Work quickly when pouring and spreading the candy because it hardens fast.
- Using a rimmed cookie sheet helps contain the liquid and sugar evenly.
- Be careful handling hot syrup as it reaches very high temperatures and can cause burns.
- Store candy in a cool, dry place to prevent it from becoming sticky or soft.
- Prep Time: 10 minutes
- Cook Time: 15 minutes
- Category: Candy
- Method: Stovetop
- Cuisine: American
Keywords: hard candy, homemade candy, sugar candy, peppermint candy, vanilla candy, colorful candy, clear candy, candy recipe

