
No-Bake Oreo Cheesecake Recipe
Introduction
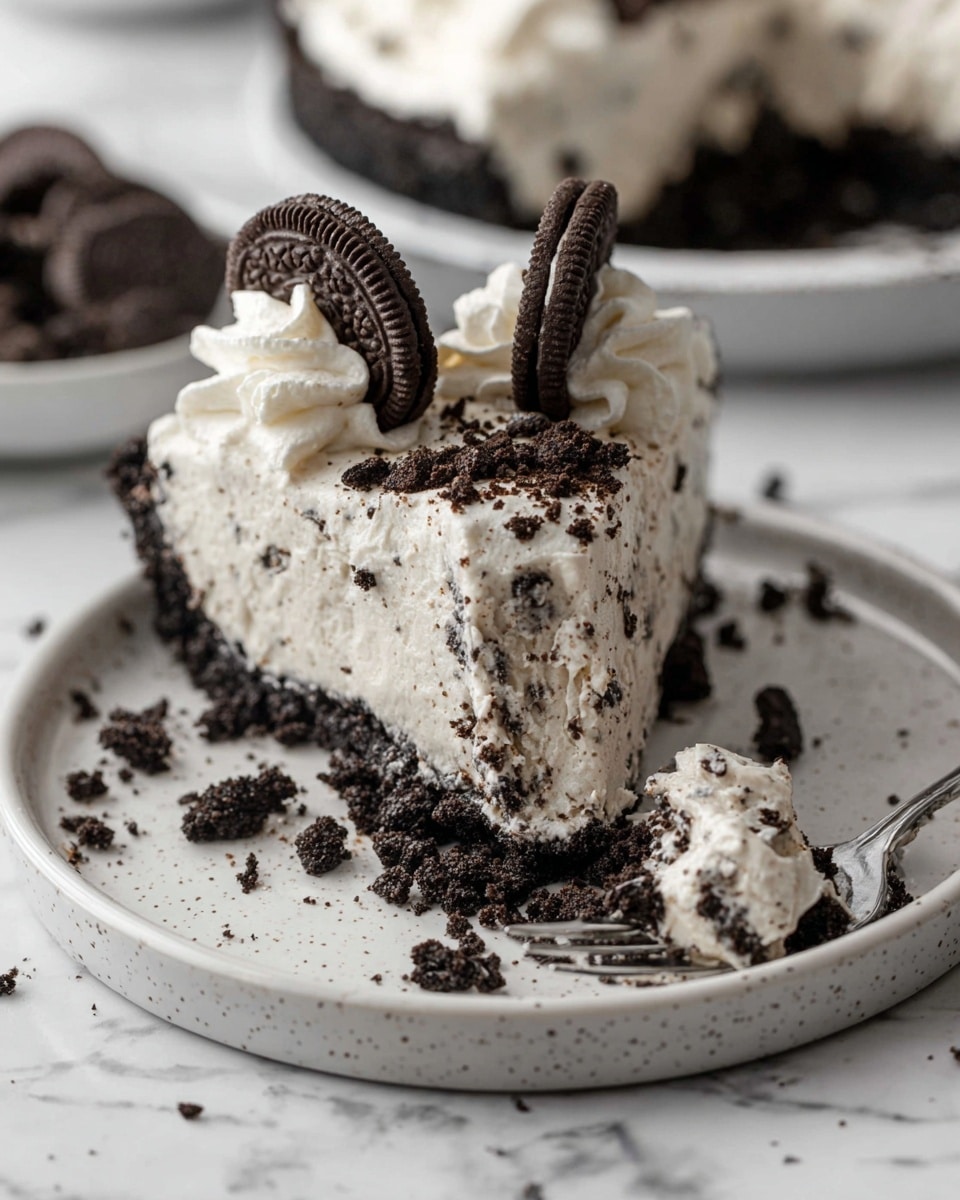
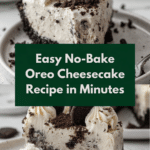
This No-Bake Oreo Cheesecake is a creamy, indulgent dessert that’s easy to make without turning on the oven. With a crunchy Oreo crust and a rich, fluffy filling bursting with cookie pieces, it’s perfect for any occasion or a sweet treat at home.
Ingredients
- 24 Oreos (for crust)
- 4 tablespoons unsalted butter, melted (60 grams)
- 16 ounces brick-style cream cheese, softened
- 1 cup powdered sugar (120 grams)
- 1 teaspoon vanilla extract
- 2 cups cold heavy whipping cream (480 ml)
- 16 Oreos, chopped (for filling)
- Homemade whipped cream (for topping)
- 12 to 14 mini Oreos, chopped (or 6 full-size Oreos cut in half, for garnish)
Instructions
- Step 1: To make the crust, add the 24 Oreos to a food processor and process until they become fine crumbs. Transfer the crumbs to a mixing bowl, add the melted butter, and mix until the crumbs are evenly moistened.
- Step 2: Line the bottom of a 9-inch springform pan with parchment paper. Scoop the Oreo crumb mixture into the pan and firmly press it down into one even layer. Place the pan in the refrigerator to chill while you prepare the filling.
- Step 3: In a stand mixer fitted with a whisk attachment, or using a handheld mixer in a large bowl, beat the softened cream cheese until smooth. Add the powdered sugar and vanilla extract, then mix until all ingredients are well combined.
- Step 4: In a separate bowl, pour the cold heavy whipping cream. Start beating on low speed, then increase to medium-high until stiff peaks form. Gently fold the whipped cream into the cream cheese mixture until just combined. Carefully fold in the chopped Oreos.
- Step 5: Remove the crust from the refrigerator and spoon the cheesecake filling over it. Spread evenly into one smooth layer.
- Step 6: If you like, pipe homemade whipped cream around the edges and top with chopped mini Oreos or Oreo halves for decoration.
- Step 7: Cover the cheesecake tightly and refrigerate for at least 4 to 5 hours, or preferably overnight, to allow it to set completely. When ready, release from the springform pan, slice, and enjoy your no-bake Oreo cheesecake!
Tips & Variations
- For a stronger chocolate flavor, use double-stuffed Oreos in the crust.
- You can substitute the homemade whipped cream topping with store-bought whipped cream for convenience.
- Add a tablespoon of coffee or espresso powder to the filling for a mocha twist.
- To make individual servings, assemble the crust and filling in small jars or glasses.
Storage
Store the cheesecake covered in the refrigerator for up to 3 days. Keep it tightly covered to prevent it from absorbing fridge odors. When ready to serve, remove from the fridge and let it sit at room temperature for 10 minutes for a creamier texture. Avoid freezing as it may affect the texture of the cream cheese filling.
How to Serve

Serve this delicious recipe with your favorite sides.
FAQs
Can I use regular cream cheese instead of brick-style cream cheese?
Brick-style cream cheese is firmer and less watery, which helps the cheesecake set properly. Using regular cream cheese may result in a softer texture, but it can still work if softened well.
Do I need a springform pan to make this cheesecake?
A springform pan makes it easier to remove the cheesecake without damaging it, but you can use a regular 9-inch cake pan lined with parchment paper. Just be careful when unmolding.
Print
No-Bake Oreo Cheesecake Recipe
- Total Time: 4 hours 20 minutes (including chilling time)
- Yield: 12 servings 1x
- Diet: Vegetarian
Description
This No-Bake Oreo Cheesecake is a creamy, indulgent dessert featuring a buttery Oreo cookie crust layered with a smooth cream cheese filling mixed with chopped Oreos. It’s a simple, no-bake recipe that sets in the refrigerator, making it perfect for an easy yet impressive treat for Oreo lovers.
Ingredients
Crust
- 24 Oreos
- 4 tablespoons unsalted butter, melted (60 grams)
Filling
- 16 ounces brick-style cream cheese, softened
- 1 cup powdered sugar (120 grams)
- 1 teaspoon vanilla extract
- 2 cups cold heavy whipping cream (480 ml)
- 16 Oreos, chopped
Topping
- Homemade whipped cream
- 12 to 14 mini Oreos, chopped (or 6 full-size Oreos, cut in half)
Instructions
- Prepare the crust: Add the 24 Oreos to a food processor and pulse until you have fine crumbs. Transfer the crumbs to a mixing bowl and add the melted butter. Mix well until the crumbs are evenly moistened with the butter.
- Form the crust: Line the bottom of a 9-inch springform pan with parchment paper. Scoop the Oreo crumb mixture into the pan and press it down firmly into an even layer. Place the pan in the refrigerator to chill while you prepare the filling.
- Make the cheesecake filling: Using a stand mixer fitted with the whisk attachment or a handheld mixer in a large bowl, beat the softened cream cheese until smooth and creamy. Add the powdered sugar and vanilla extract and mix until fully combined.
- Whip the cream: In a separate bowl, pour in the cold heavy whipping cream. Start mixing on low speed, then increase to medium-high until stiff peaks form. Gently fold the whipped cream into the cream cheese mixture until just combined.
- Add chopped Oreos: Fold in the 16 chopped Oreos carefully to preserve the texture of the filling.
- Assemble the cheesecake: Remove the springform pan from the refrigerator. Spoon the cheesecake filling over the chilled crust and spread it out evenly with a spatula.
- Decorate: If desired, pipe homemade whipped cream around the edges of the cheesecake and top with the chopped mini Oreos or halved full-size Oreos.
- Chill to set: Cover the cheesecake tightly and refrigerate for at least 4 to 5 hours, preferably overnight, to allow it to set properly.
- Serve: Remove the cheesecake from the springform pan, slice, and serve chilled. Enjoy your delicious no-bake Oreo cheesecake!
Notes
- The crust is made from Oreo crumbs combined with melted butter to create a firm base without baking.
- Use cold heavy whipping cream for best whipping results and texture in the filling.
- Chilling the cheesecake for several hours or overnight ensures it sets properly for clean slices.
- You can substitute mini Oreos with regular Oreos cut in half for decoration.
- Make sure the cream cheese is softened to avoid lumps in the filling.
- Prep Time: 20 minutes
- Cook Time: 0 minutes
- Category: Dessert
- Method: No-Cook
- Cuisine: American
Keywords: Oreo cheesecake, no bake cheesecake, Oreo dessert, cream cheese dessert, easy cheesecake

