
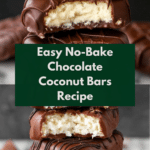
Chocolate Coconut Bars Recipe
Introduction
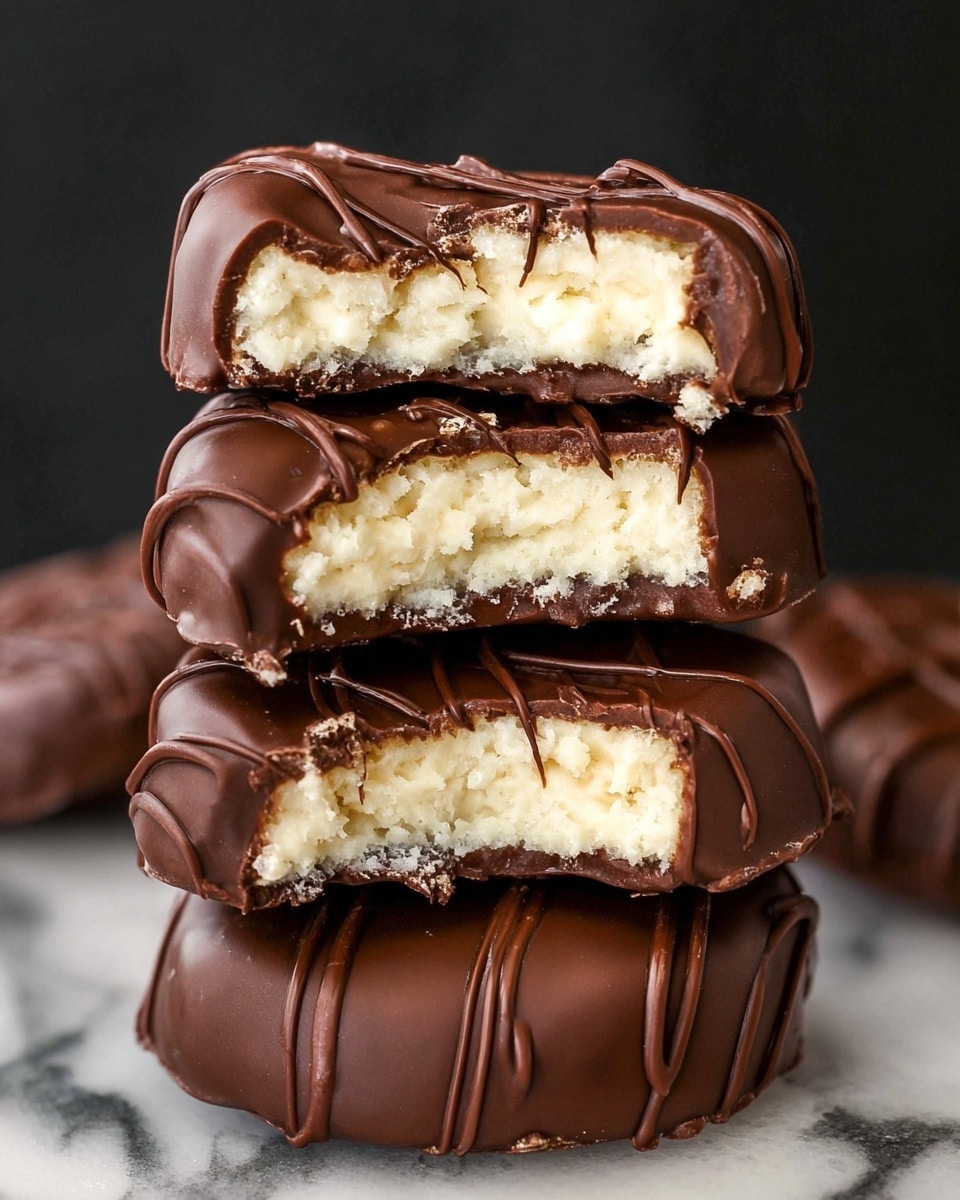
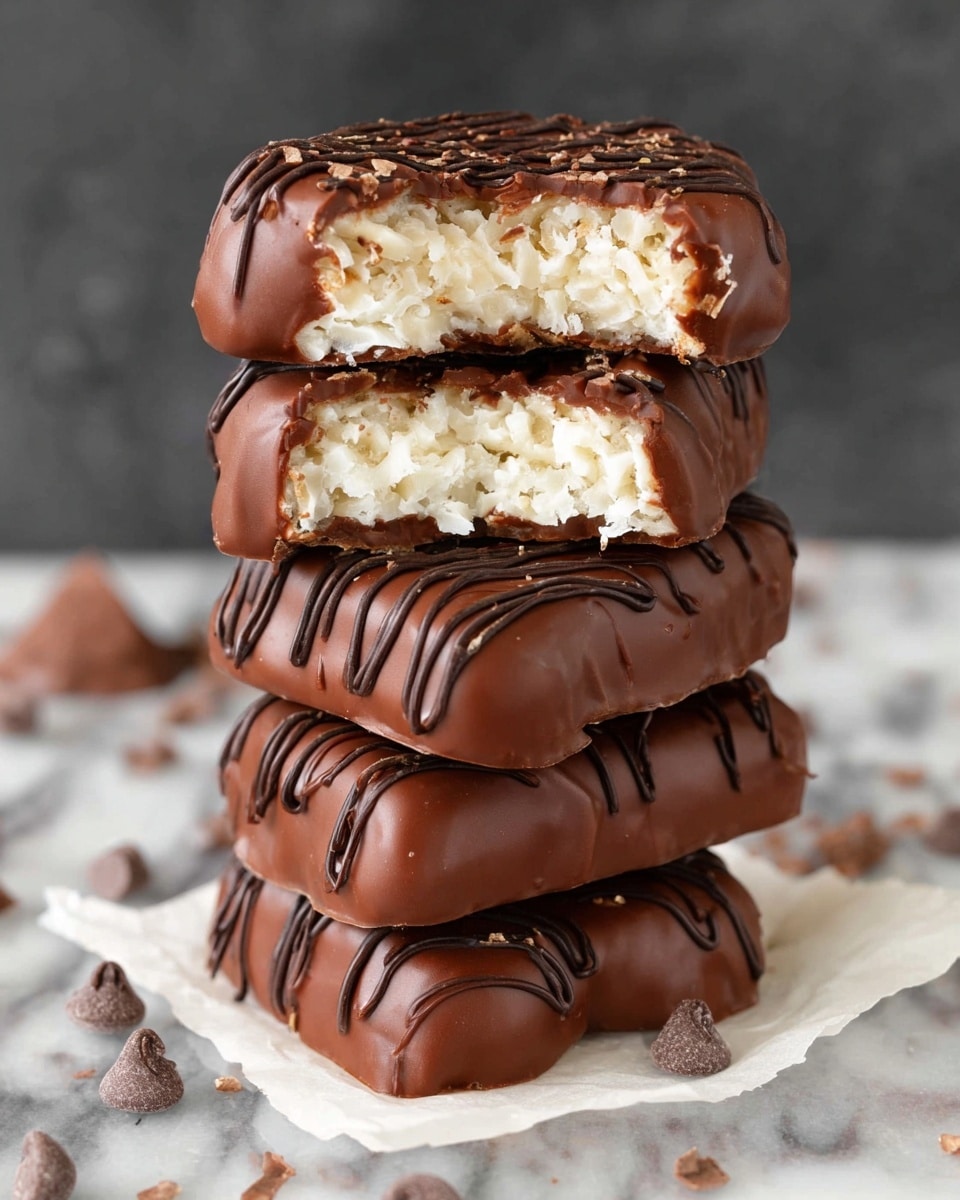
These Chocolate Coconut Bars are a simple and delicious treat combining the rich flavors of coconut and chocolate. They are naturally sweetened and perfect for a quick energizing snack or a healthy dessert option.
Ingredients
- 4 cups unsweetened shredded coconut
- 1/2 cup coconut oil (melted)
- 3/4 cup maple syrup
- 1 cup chocolate
Instructions
- Step 1: Line an 8 x 8-inch pan with parchment paper and set aside.
- Step 2: Add the shredded coconut, melted coconut oil, and maple syrup to a food processor and blend until the mixture is evenly combined.
- Step 3: Transfer the mixture to the lined pan and press down firmly. Refrigerate for at least one hour to allow it to firm up.
- Step 4: Once firm, use a sharp knife to slice the mixture into bars.
- Step 5: Melt the chocolate in a microwave-safe bowl or on the stovetop. Quickly dip each coconut bar into the melted chocolate until fully coated. Place the coated bars on a lined plate and refrigerate until the chocolate hardens.
Tips & Variations
- For a nuttier flavor, add a handful of chopped almonds or pecans to the coconut mixture before pressing it into the pan.
- Use dark chocolate or semi-sweet chocolate depending on your preferred sweetness level.
- If you don’t have a food processor, mix the ingredients thoroughly in a bowl using a spoon or spatula, though the texture will be a bit coarser.
Storage
Store the coconut bars in an airtight container in the refrigerator for up to one week. For longer storage, freeze the bars for up to one month. Let them thaw in the fridge before serving. These bars are best enjoyed chilled to keep the chocolate coating firm.
How to Serve
Serve this delicious recipe with your favorite sides.
FAQs
Can I use sweetened shredded coconut instead of unsweetened?
Yes, you can use sweetened shredded coconut, but reduce the maple syrup slightly to avoid the bars becoming too sweet.
What type of chocolate works best for coating?
Semi-sweet, dark, or milk chocolate can all be used. Choose your favorite based on desired sweetness and richness. Chocolate chips or baking chocolate bars both work well for melting.
Print
Chocolate Coconut Bars Recipe
- Total Time: 1 hour 25 minutes (including refrigeration time)
- Yield: 12 bars 1x
- Diet: Gluten Free
Description
Delicious and naturally sweet chocolate coconut bars made with shredded coconut, coconut oil, and maple syrup, coated in rich melted chocolate. These bars are perfect as a gluten-free and vegan treat that’s easy to prepare and requires no baking.
Ingredients
Base
- 4 cups unsweetened shredded coconut
- 1/2 cup coconut oil, melted
- 3/4 cup maple syrup
Chocolate Coating
- 1 cup chocolate (semi-sweet or dark, depending on preference)
Instructions
- Prepare Pan: Line an 8 x 8-inch baking pan with parchment paper and set it aside for easy removal of the bars later.
- Mix Ingredients: Combine the shredded coconut, melted coconut oil, and maple syrup in a food processor. Blend until all ingredients are evenly mixed and form a sticky mixture.
- Form Base Layer: Transfer the coconut mixture into the lined pan and press it down firmly with a spatula or your hands to create an even layer. Refrigerate for at least one hour to let it firm up.
- Slice Bars: After the mixture has set and firmed up in the refrigerator, use a sharp knife to cut it into individual bars of your desired size.
- Melt Chocolate: Melt the chocolate either in a microwave-safe bowl in short bursts, stirring in between, or over a double boiler on the stovetop to prevent burning.
- Coat Bars: Quickly dip each coconut bar into the melted chocolate until completely coated. Place them on a parchment-lined plate or tray.
- Chill Bars: Refrigerate the chocolate-coated bars until the chocolate hardens and firms up, about 30 minutes. Once set, enjoy or store them in an airtight container in the refrigerator.
Notes
- Use unsweetened shredded coconut to avoid additional sweetness.
- Adjust the type of chocolate according to your taste preference: dark, semi-sweet, or even milk chocolate.
- The bars should be kept refrigerated for best texture and to prevent melting.
- If you prefer a crunchier texture, lightly toast the shredded coconut before mixing.
- This recipe is naturally gluten-free and vegan.
- Prep Time: 15 minutes
- Cook Time: 10 minutes (including melting chocolate)
- Category: Dessert
- Method: No-Cook
- Cuisine: American
Keywords: chocolate coconut bars, no bake dessert, vegan chocolate bars, gluten free dessert, healthy chocolate bars, coconut treats
