
Slice and Bake Valentine’s Day Cookies Recipe
Introduction
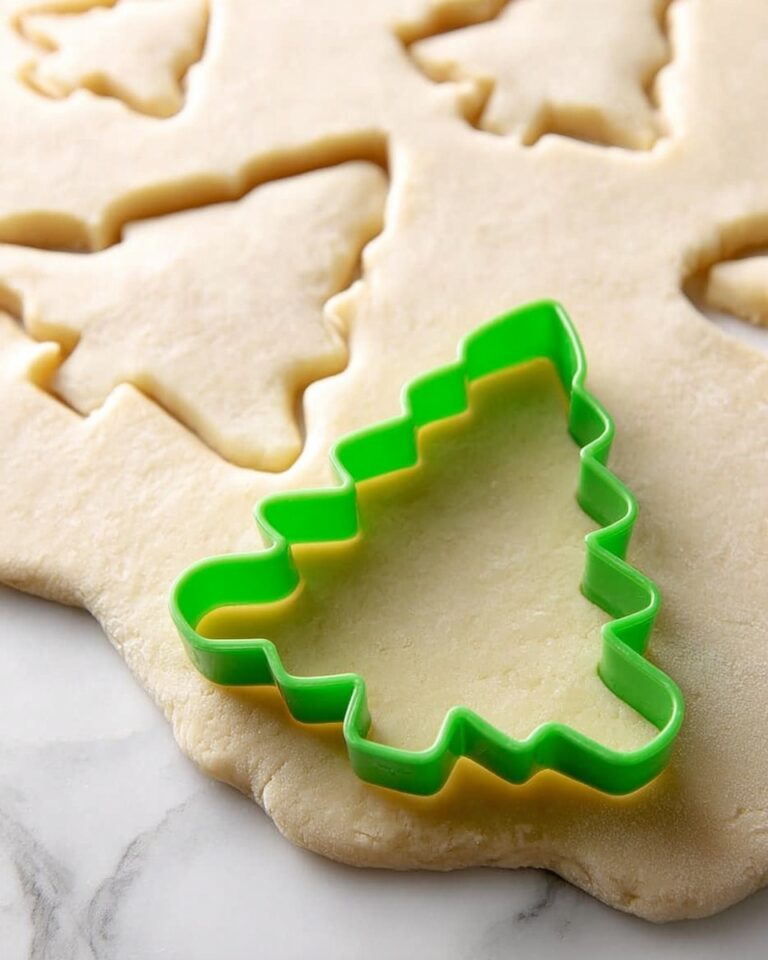
These Slice and Bake Valentine’s Day Cookies are a delightful way to celebrate the season of love. Featuring charming heart shapes with a pop of pink, they are simple to prepare and perfect for sharing with friends and family.

Ingredients
- 3/4 cup unsalted butter, softened to room temperature
- 1 cup granulated sugar
- 1 teaspoon vanilla extract
- 2 large eggs
- 2 1/2 cups all purpose flour
- 1 teaspoon baking powder
- 1/2 teaspoon salt
- Red or pink food coloring (natural food coloring recommended)
Instructions
- Step 1: Add butter, sugar, and vanilla extract to a large mixing bowl or stand mixer. Beat at medium speed until light and fluffy, about 3 minutes.
- Step 2: Add eggs one at a time, mixing just until combined after each addition.
- Step 3: In a separate bowl, whisk together the flour, baking powder, and salt.
- Step 4: Gradually add the dry ingredients to the wet ingredients in 3 to 4 batches, mixing until the dough forms. If the dough feels too wet, add 1 to 2 tablespoons of flour as needed.
- Step 5: Remove about half to two-thirds of the dough and set aside. Add several drops of food coloring to the remaining dough, mixing until the color is evenly distributed. Adjust the food coloring to achieve your desired shade.
- Step 6: Place the colored dough in the freezer for 5 minutes. Then roll it out on a lightly floured surface into a rectangle about 1/2-inch thick. Return to the freezer for 20 minutes to firm up.
- Step 7: Use a small heart-shaped cookie cutter (approximately 1.5 inches across) to cut out hearts from the colored dough. Lightly dip a finger in water and dab the floured side of each heart before pressing another heart on top; this helps them stick without using too much water. Continue until you have a log about 10 inches long.
- Step 8: Freeze the heart log for at least 30 minutes until solid. Then press the plain dough onto and around the hearts, ensuring there are no gaps. Roll the mixture into a smooth log.
- Step 9: Wrap the log tightly in plastic wrap and chill for at least 30 minutes.
- Step 10: Preheat your oven to 350°F (175°C) and line two baking sheets with parchment paper.
- Step 11: Slice the dough log into 1/4-inch rounds and space them 2 inches apart on the prepared baking sheets. Bake for about 12 minutes, or until the bottoms are lightly golden. Remove from oven and let cool before serving.
Tips & Variations
- For a more vibrant color, use gel food coloring instead of liquid for better saturation without altering the dough’s consistency.
- If you don’t have a heart cookie cutter, you can carefully cut shapes with a knife or use other festive cookie cutters.
- Chilling the dough at each step is key to maintaining sharp shapes and preventing spreading during baking.
- Try adding a teaspoon of almond extract along with vanilla for a subtle flavor twist.
Storage
Store cooled cookies in an airtight container at room temperature for up to one week. For longer storage, freeze the baked cookies in a sealed container for up to 3 months. To reheat, allow frozen cookies to come to room temperature or warm in a low oven for a few minutes.
How to Serve

Serve this delicious recipe with your favorite sides.
FAQs
Can I make the dough ahead of time?
Yes, the dough can be wrapped tightly and refrigerated for up to 2 days or frozen for up to a month. Be sure to thaw completely before rolling and cutting.
Why does the dough need to be chilled multiple times?
Chilling firms up the dough, which helps the cookies hold their shape during cutting and baking, preventing spreading and preserving the heart details.
Print
Slice and Bake Valentine’s Day Cookies Recipe
- Total Time: 1 hour 30 minutes
- Yield: Approximately 24–30 cookies 1x
Description
Delight in these charming Slice and Bake Valentine’s Day Cookies featuring a buttery vanilla dough with vibrant pink heart-shaped centers. Perfectly crisp and tender, these cookies are ideal for celebrating love and sweetness any time of year.
Ingredients
Cookie Dough
- 3/4 cup unsalted butter, softened to room temperature
- 1 cup granulated sugar
- 1 teaspoon vanilla extract
- 2 large eggs
- 2 1/2 cups all-purpose flour
- 1 teaspoon baking powder
- 1/2 teaspoon salt
Coloring
- Red or pink food coloring (natural food coloring recommended)
Instructions
- Cream Butter and Sugar: Add butter, sugar, and vanilla extract to a large mixing bowl or stand mixer. Beat at medium speed until the mixture becomes light and fluffy, approximately 3 minutes.
- Add Eggs: Incorporate eggs one at a time into the creamed mixture, mixing just until combined after each addition.
- Mix Dry Ingredients: In a separate bowl, whisk together the all-purpose flour, baking powder, and salt to ensure an even distribution.
- Combine Dry and Wet Ingredients: Gradually add the dry ingredients to the wet ingredients in 3 to 4 batches, stirring until the dough forms. If the dough feels too wet, add an extra 1 to 2 tablespoons of flour as needed.
- Divide Dough and Add Coloring: Remove about half to two-thirds of the dough and set it aside. Add several drops of food coloring to the remaining dough and mix until fully combined, adding more coloring to reach the desired pink hue.
- Chill and Roll Colored Dough: Freeze the pink dough for 5 minutes, then roll it out on a lightly floured surface into a rectangle about 1/2 inch thick. Return it to the freezer for 20 minutes to firm up, making it easier to cut shapes cleanly.
- Cut Heart Shapes: Use a small 1.5-inch heart-shaped cookie cutter to cut out hearts. Lightly moisten the floured side of each heart with a finger dabbed in water to help them stick together. Stack the hearts to form a log about 10 inches long, pressing gently to adhere them together.
- Freeze Heart Log: Place the heart log back in the freezer for at least 30 minutes or until frozen solid.
- Encase Heart Log in Plain Dough: Remove the heart log from the freezer and press the plain dough onto and around the heart shapes, making sure to fill any gaps and form a smooth, cohesive log.
- Chill the Dough Log: Wrap the assembled cookie log tightly in plastic wrap and refrigerate for at least 30 minutes to firm up before slicing.
- Preheat Oven and Prepare Baking Sheets: Preheat the oven to 350°F (175°C) and line two baking sheets with parchment paper.
- Slice and Bake: Slice the chilled dough log into 1/4-inch rounds and place them 2 inches apart on the prepared baking sheets. Bake for about 12 minutes, or until the bottoms turn light golden brown. Remove the cookies from the oven and allow them to cool completely on the baking sheets.
Notes
- Adjust flour quantity slightly if the dough is too sticky to handle comfortably.
- Using natural food coloring can provide a softer, more subtle hue compared to synthetic dyes.
- Chilling the dough at multiple steps helps maintain the cookie shape and prevents spreading during baking.
- If you don’t have a heart-shaped cutter, you can carefully cut shapes by hand or use a different small cutter.
- Prep Time: 25 minutes
- Cook Time: 12 minutes
- Category: Dessert
- Method: Baking
- Cuisine: American
Keywords: Valentine’s Day cookies, slice and bake, heart shaped cookies, vanilla cookies, holiday cookies, homemade cookies


